I don’t know about you, but I love Halloween. There’s nothing better than cozying up in warm pajamas, watching the classics like Hocus Pocus and Beetlejuice. The sweet scents of pumpkin spice and cinnamon fill the air. If you’re a DIY girl like me, then you are already scouring the internet for fun Halloween themed projects. Today, I’m going to teach you how you can make these adorable, fleece plushie witch’s cats right at home. This project is super cheap, super easy, and takes roughly two hours.
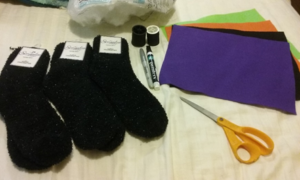
Materials You Will Need Per Cat Plush Toy

- A silver sharpie marker
- Black thread
- White thread
- Small sewing needle
- Scissors
- Colored felt squares
- Polyester fiber filling, or stuffing from a cheap pillow you don’t mind ripping open
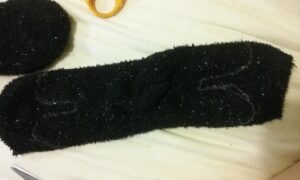
STEP 2: Use your scissors to cut along the silver outline of the body, but don’t cut down the sides of the sock. You want that fold to stay intact on both sides.
TIP: Cutting this fabric can be quite messy, so I highly recommend doing this over a towel or pillow case for easier clean up afterwards.
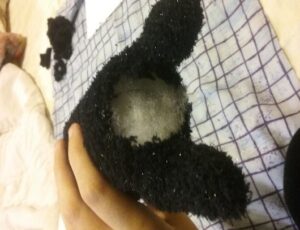
STEP 4: Using the hole left in the chest, turn your cat’s body inside out, so the seams are on the inside.
STEP 5: Stuff your cat. Be sure to stuff the back legs, then sew the hole closed.
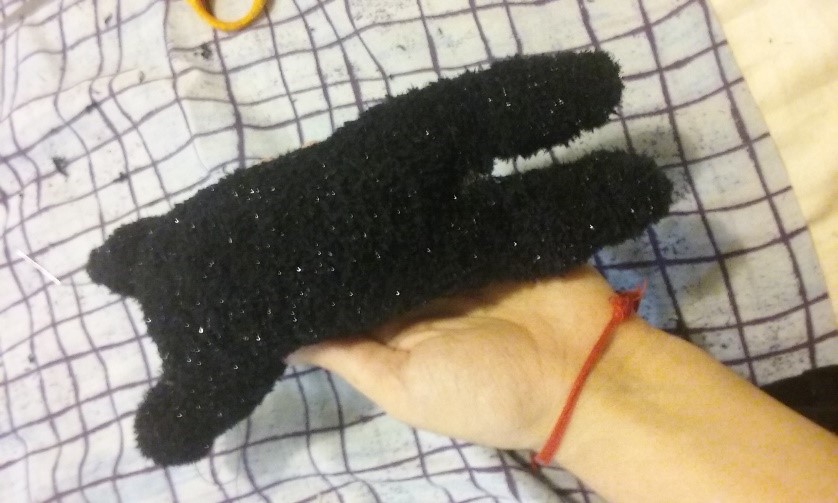
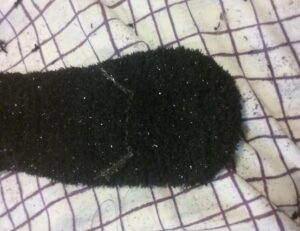
STEP 7: Cut along the outline of the sharpie, keeping the original fold of the sock intact.
STEP 8: Sew along the edges of your cat’s ears and top of the head.
STEP 9: Cut a small hole at the bottom of the head (the top of the toe of the sock).
STEP 10: Use this hole to turn the head inside out so the seams are on the inside.
STEP 11: Using the hole at the bottom, stuff your cat’s head.
STEP 12: Sew the head closed.
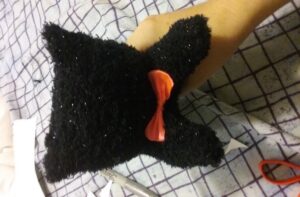
The cat should now look like this (I got this bow off a Dollar Tree cat collar):
STEP 14: Using the left-over part of the sock you made the head from, and outline a tail. Cut it out and sew along the edges, but leave the end open. Using a pencil or your finger, turn the tail inside out so your seams face the inside. Sew the tail to your cat.
STEP 15: To make the whiskers, take your white thread and cut 2 even pieces at 8 inches long. Thread both of these through a needle, and tie a knot at the end. Tie another knot in the middle of the thread. Mark out where you are going to put the nose and thread through it, pulling the middle knot to the fabric. Now cut both ends of your thread, you should have four whiskers on each side.
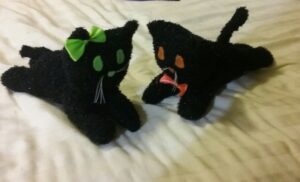
(I was going for a spookier kawaii look with mine).
TIP: I used fabric glue to stick the eyes and nose to my cat. If you intend for this to be a toy for a small child, I highly recommend sewing the eyes and nose to the head to avoid choking hazards.
That’s it. You’re done! Now go watch some Halloween movies and eat candy corn with your new little cuddle buddy. If you want more cat blog posts then please read Pawsome Kitty blog.


Like this article? Share with your friends!